This checklist walks you through everything you need before going live with JeriCommerce Loyalty. The default Shopify launch path is to configure your loyalty program, publish a Loyalty Hub surface, design and distribute wallet passes, then add optional placements only when they support a specific customer journey.
1. Overview of Your Stack
Before starting, confirm the tools you'll use:
- Shopify or Shopify Plus
- JeriCommerce Wallet (installed from the Shopify App Store)
- JeriCommerce Loyalty (built-in loyalty platform)
- Automation platform: Klaviyo or Shopify Flow (optional but recommended)
2. Loyalty Program Setup
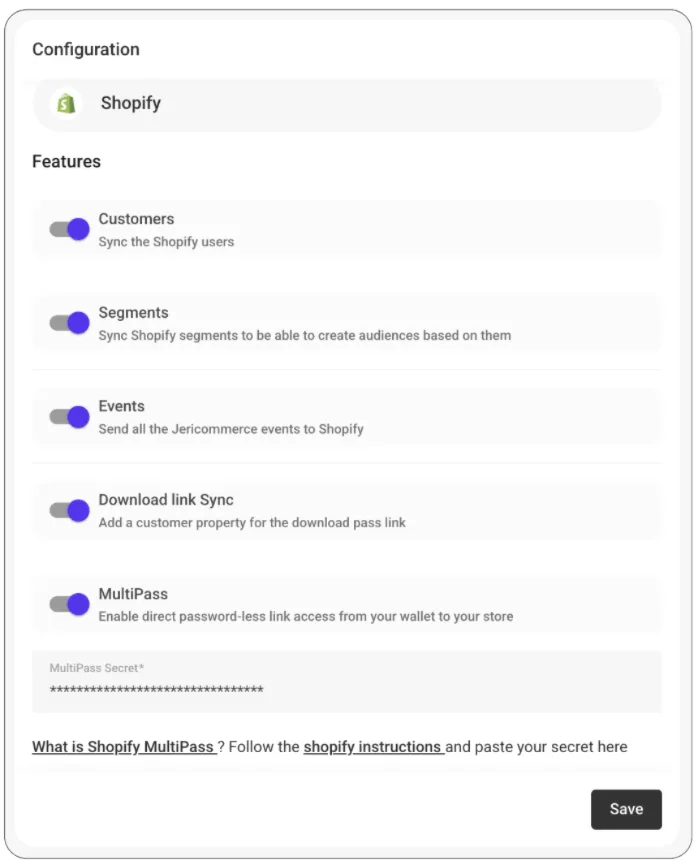
JeriCommerce Loyalty is the built-in loyalty engine. It's designed for brands that want a simple, integrated way to manage points, rewards, and loyalty flows directly within the JeriCommerce platform — without relying on third-party providers.
Set Up Your Store & Labels
- Choose to create a new loyalty program during the onboarding flow.
- Set up your store settings and basic loyalty program labels from the onboarding flow or the JeriCommerce admin.
- Labels include program and points name.
Create Earning Flows
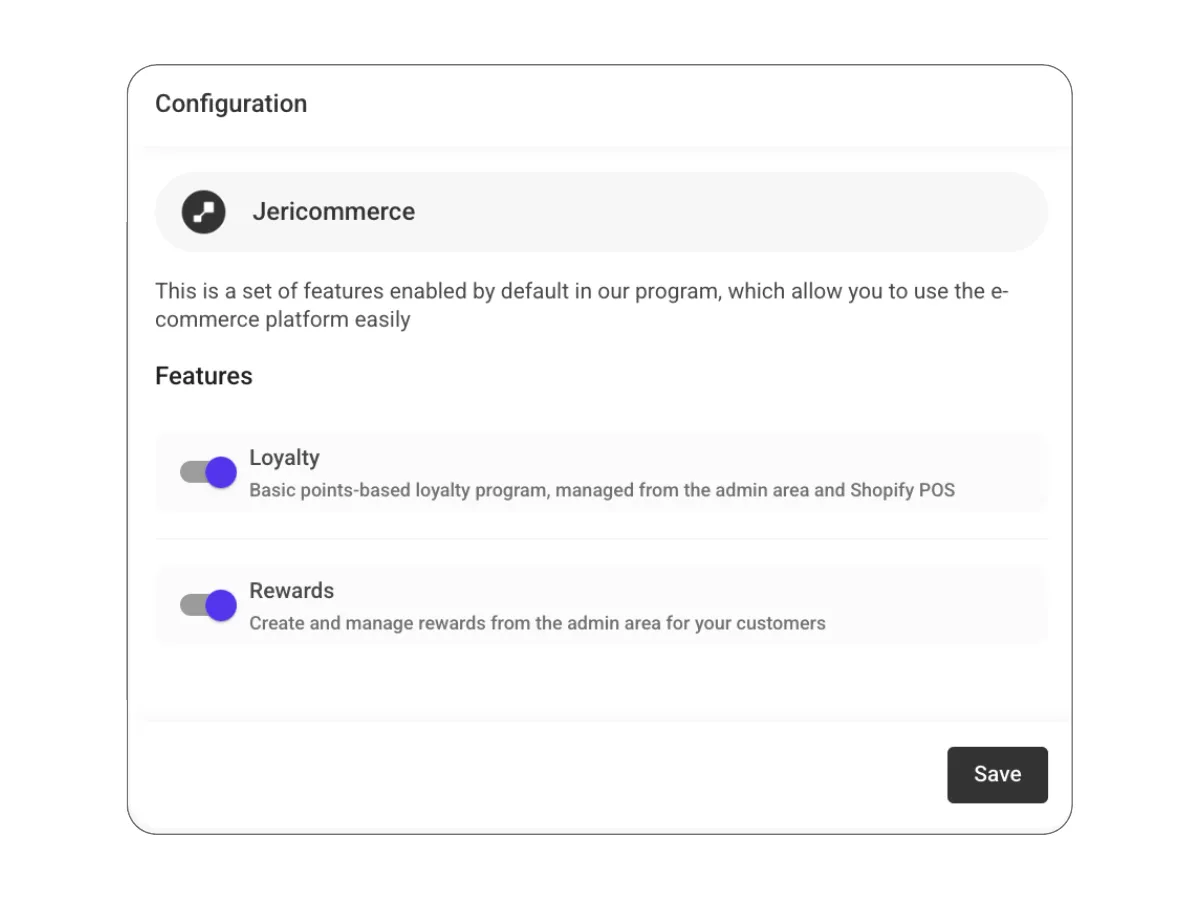
- You can create your first earning flows from the onboarding process.
- Open the Earning Flows section in JeriCommerce admin.
- Set up point-earning rules for key actions:
- Purchases (based on amount spent)
- Referrals (reward customers when a referred friend joins)
Optional: VIP Tiers
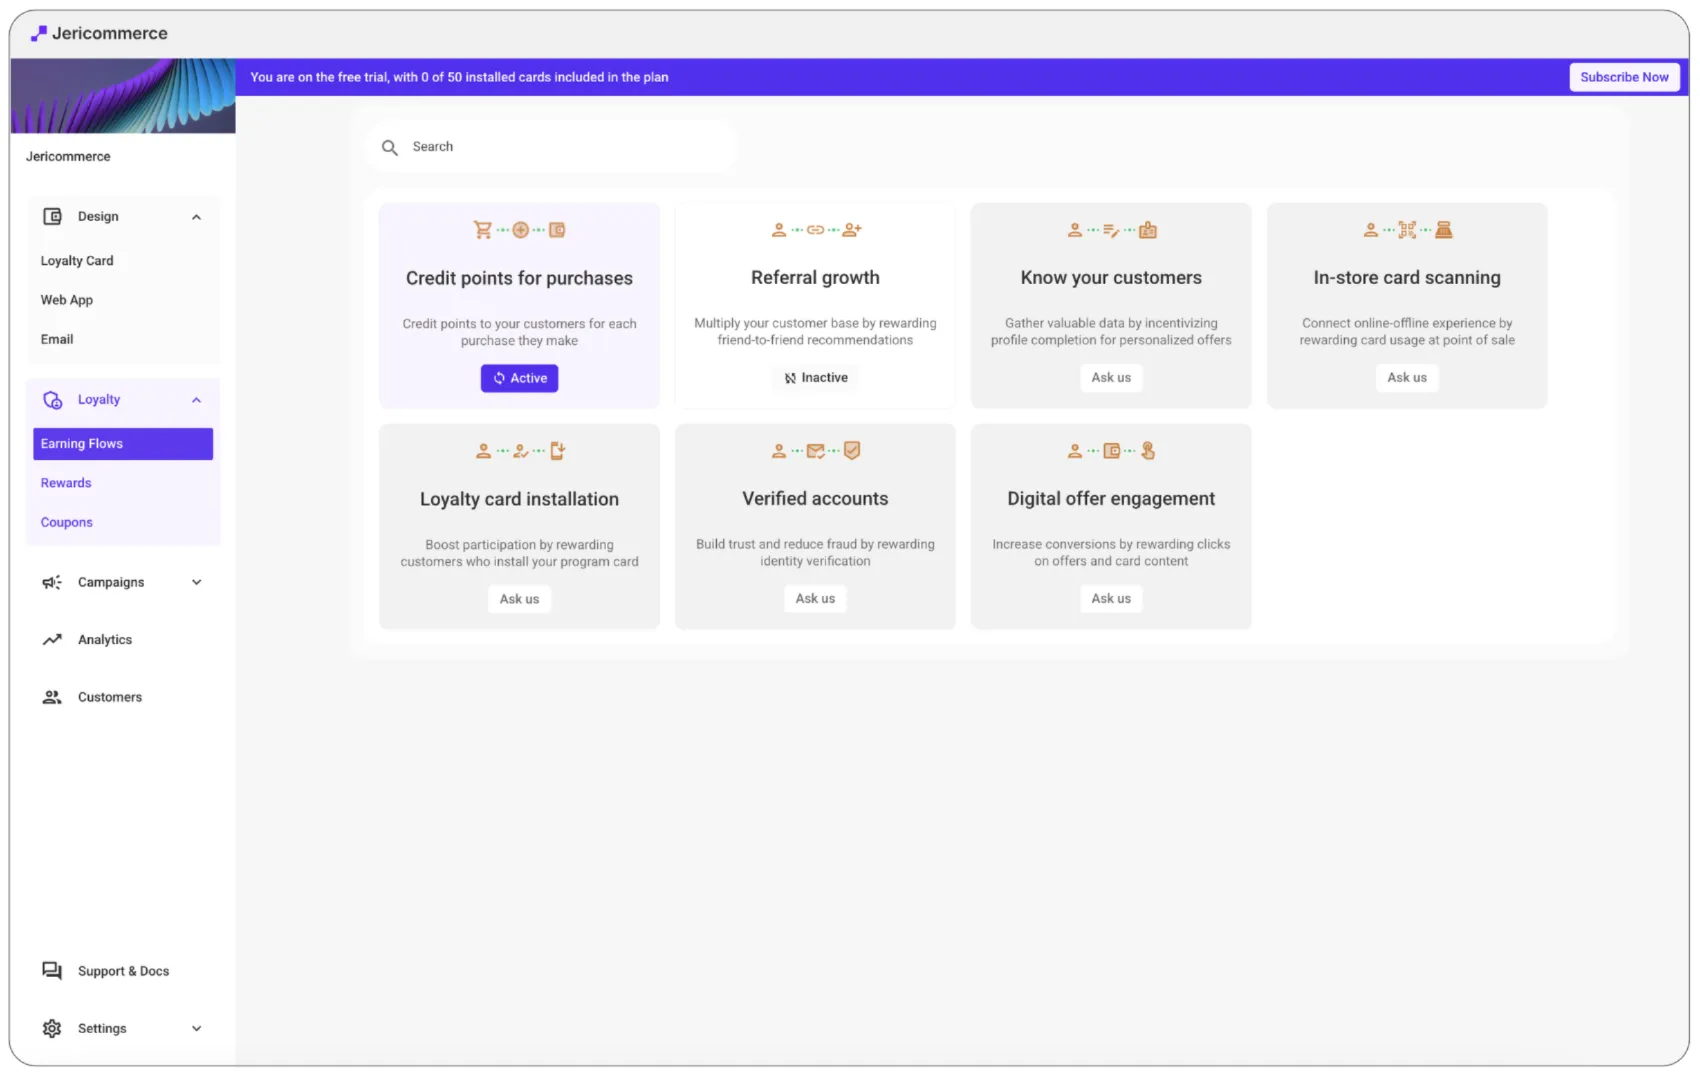
You can expand your program by adding status levels to reward your community.
- Define your tiers (e.g., Bronze, Silver, Gold) based on total spend or points earned.
- Set thresholds and recalculation cycles to automate customer progression.
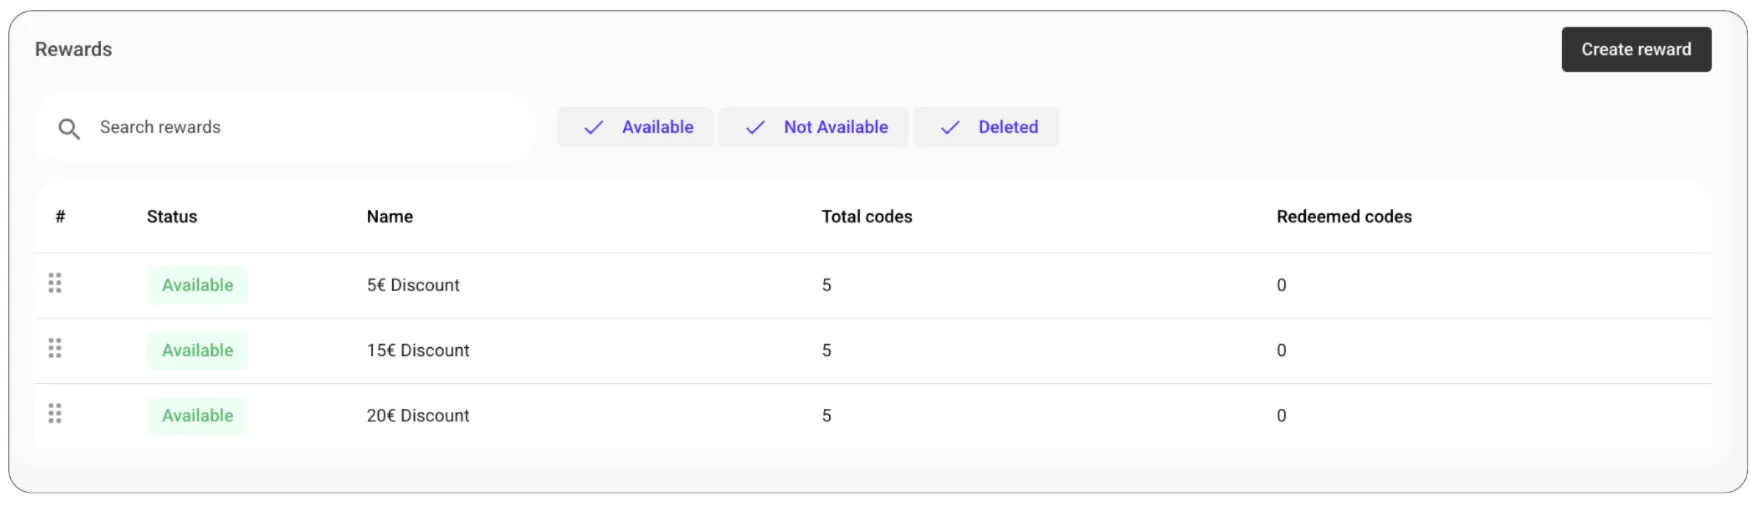
Set Up Rewards
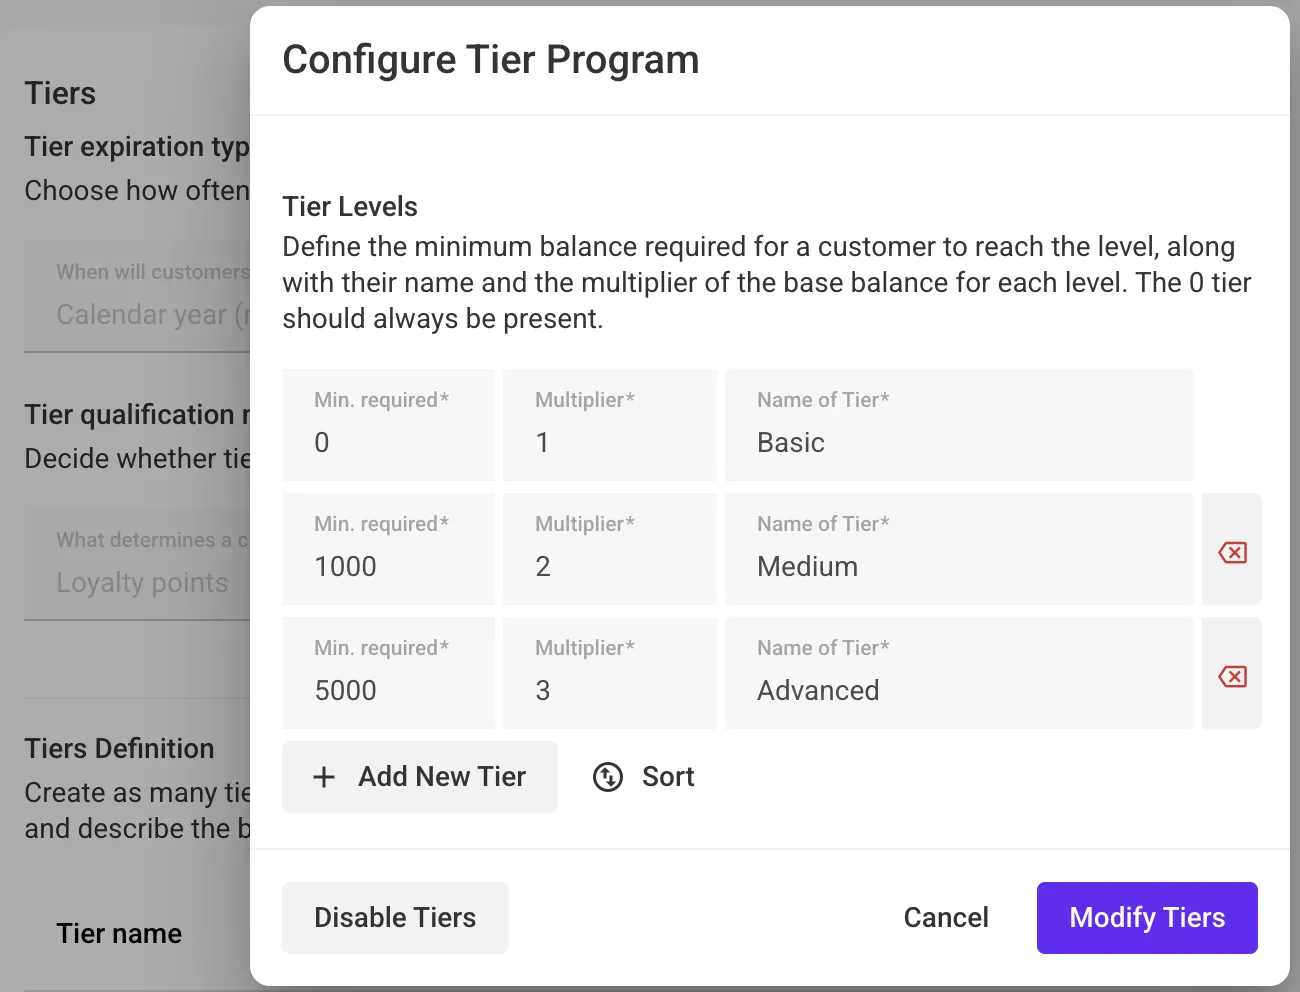
- You can create your first rewards from the onboarding process.
- Add custom rewards customers can redeem with points.
- Rewards will be accessible from the Loyalty Hub and wallet pass.
How do JeriCommerce Rewards work? | How to set your points ratio and rewards by business type
Publish the Shopify Loyalty Hub
The Shopify Loyalty Hub is the main Shopify experience for new JeriCommerce launches. Start here before adding the standalone widget or individual account blocks.
- Storefront hub — Add the hub to a Shopify Online Store page so guests can understand the program and logged-in customers can check points, tier points, tier status, complete earning actions, and redeem rewards.
- Customer account hub — Add the Loyalty Hub link to Shopify New Customer Accounts when customers should manage loyalty from their account area.
- Customization — Use the Shopify theme editor and the storefront hub CSS starter to align the default hub with the merchant's theme.
Optional Shopify Add-ons
Add smaller extensions only when you need a placement outside the hub:
- Points Accumulation Extensions — Show real-time earning potential on product and cart pages. Setting up Points Accumulation Extensions
- Checkout Rewards — Recommended for Shopify Plus merchants. Let customers redeem available rewards directly at checkout, where the purchase decision happens. Setting up Checkout Rewards Extensions
- Storefront Widget — Keep this for floating, deep-linked, or legacy widget journeys. The hub already covers the main reward, status, and earning-action experience. How to use the JeriCommerce Storefront Widget
- Account Blocks — Use separate account blocks only when the store is not using the customer account hub or needs a narrow account-page placement. Setting up the Account Loyalty Block
3. Loyalty Card Design and Setup
Customize Your Loyalty Card
- Use the Loyalty Card Designer in the JeriCommerce admin.
- Customize your brand colors, logos, and messaging.
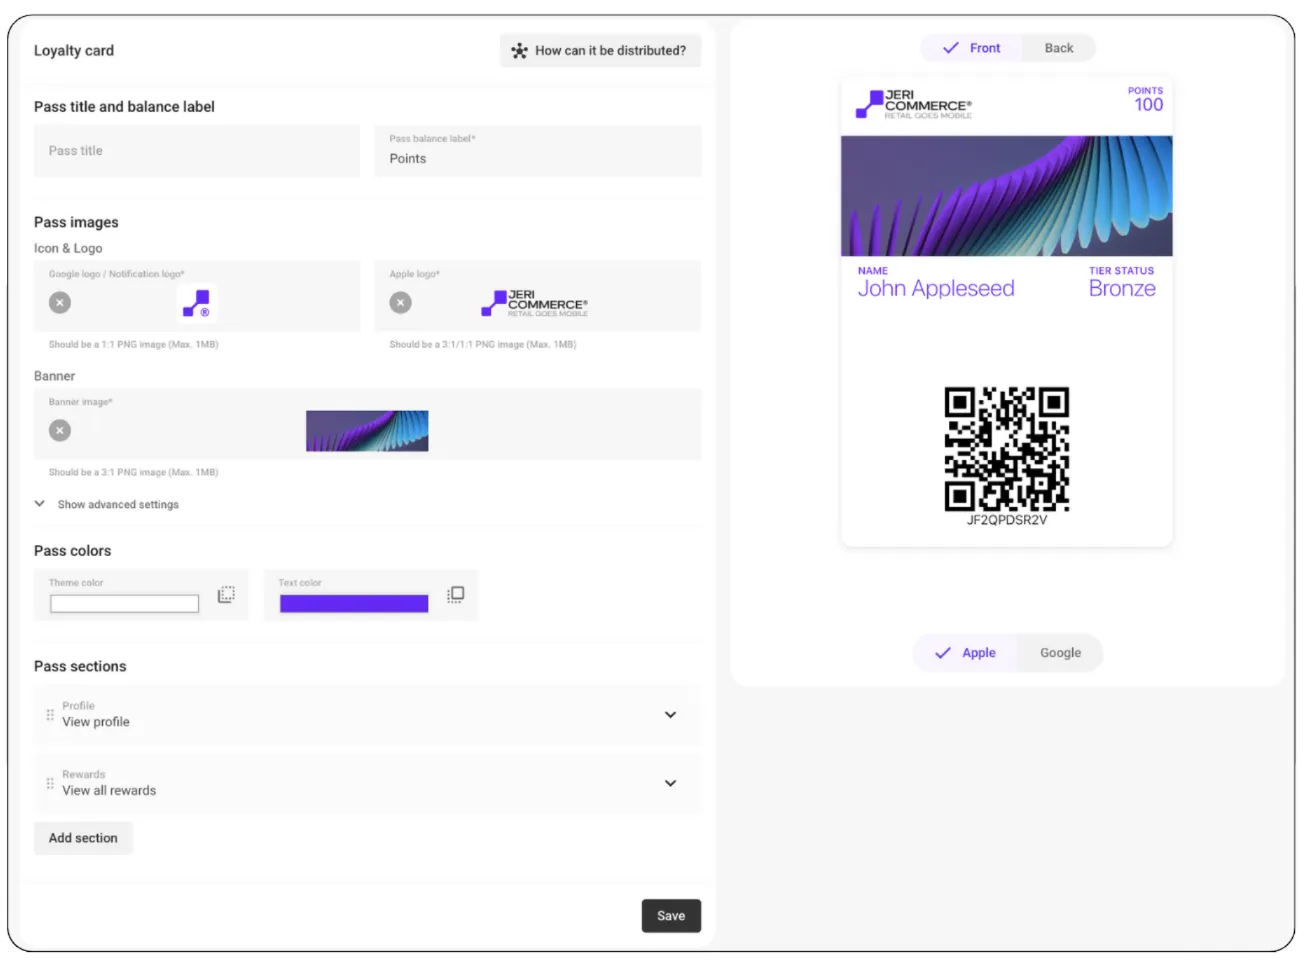
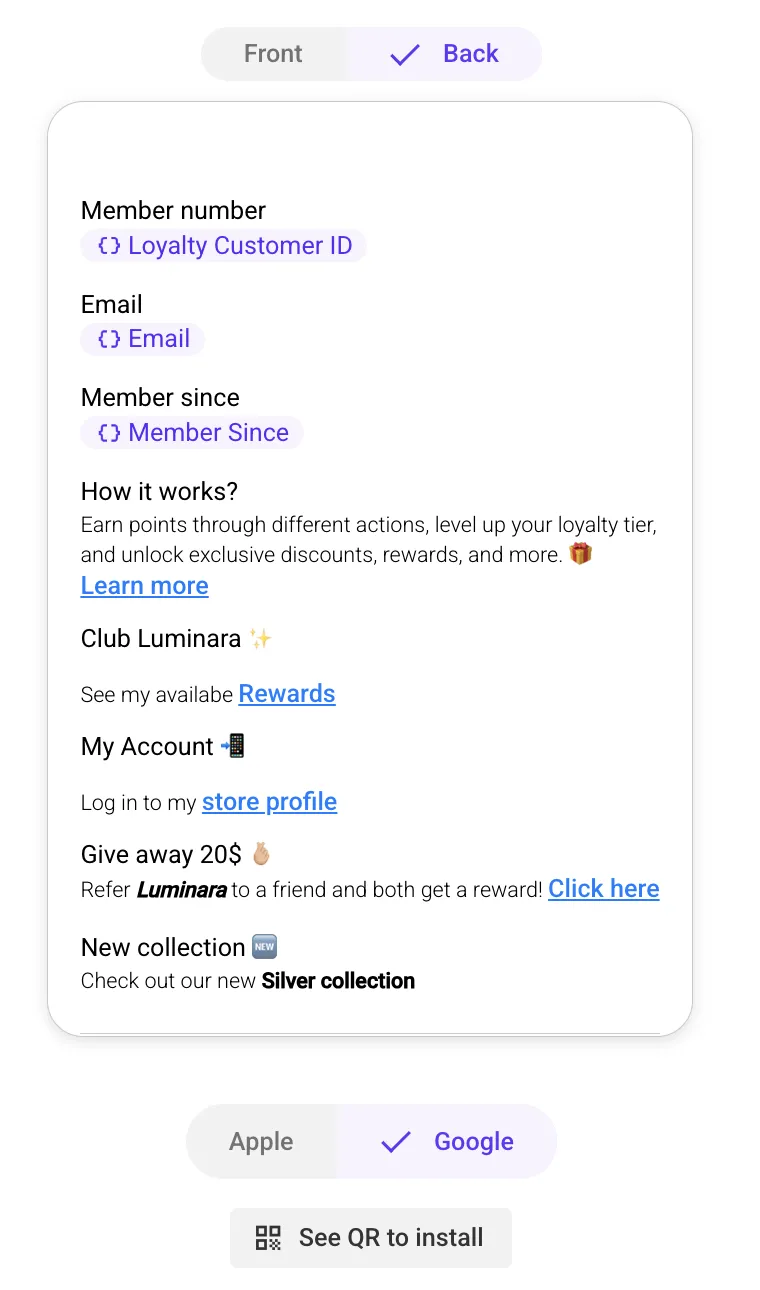
Add Key Links to the Pass
Set up sections and links embedded in the Loyalty Card for quick access to:
- Shopify login (Multipass login if on Shopify Plus)
- Customer profile or subscription page
- Loyalty Hub or rewards profile
- Product or landing pages
4. Wallet Download Links
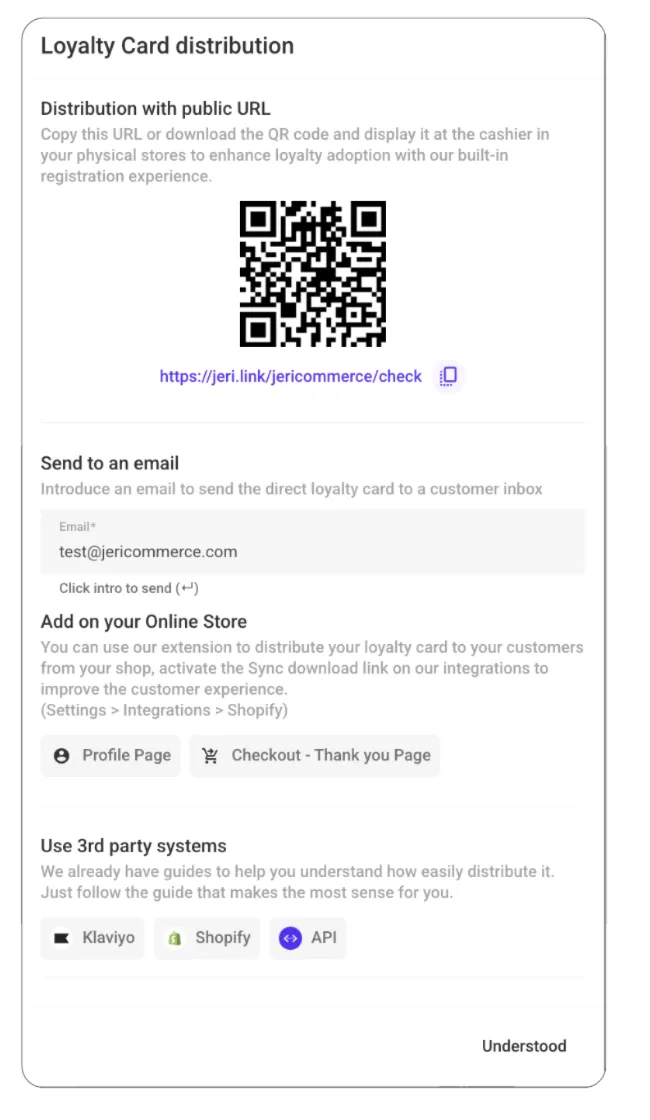
You can distribute wallet passes using dynamic or static links.
Learn how to distribute loyalty cards to your customers and how to create a unique customer link that sends the loyalty card to their email with a single click.
Distribution options:
- Welcome emails or SMS
- Loyalty Hub, account, or profile pages
- Post-purchase / Thank you screen
- Landing pages or pop-ups
5. Marketing Automation Integration
With Klaviyo
- Install the Klaviyo integration
- Sync segments and events with Klaviyo
- Send push notifications from Wallet via Webhooks
- Webhook Builder — generate webhooks for push, rewards, coupons, and balance
With Shopify Flow
Find available flow templates or create your own flows using Wallet triggers and actions.
6. Campaign Ideas to Launch
Location-Based Campaigns
- Trigger a push when customers are near a store.
- Send geo-targeted discounts.
How location-based notifications work | Manage locations and devices
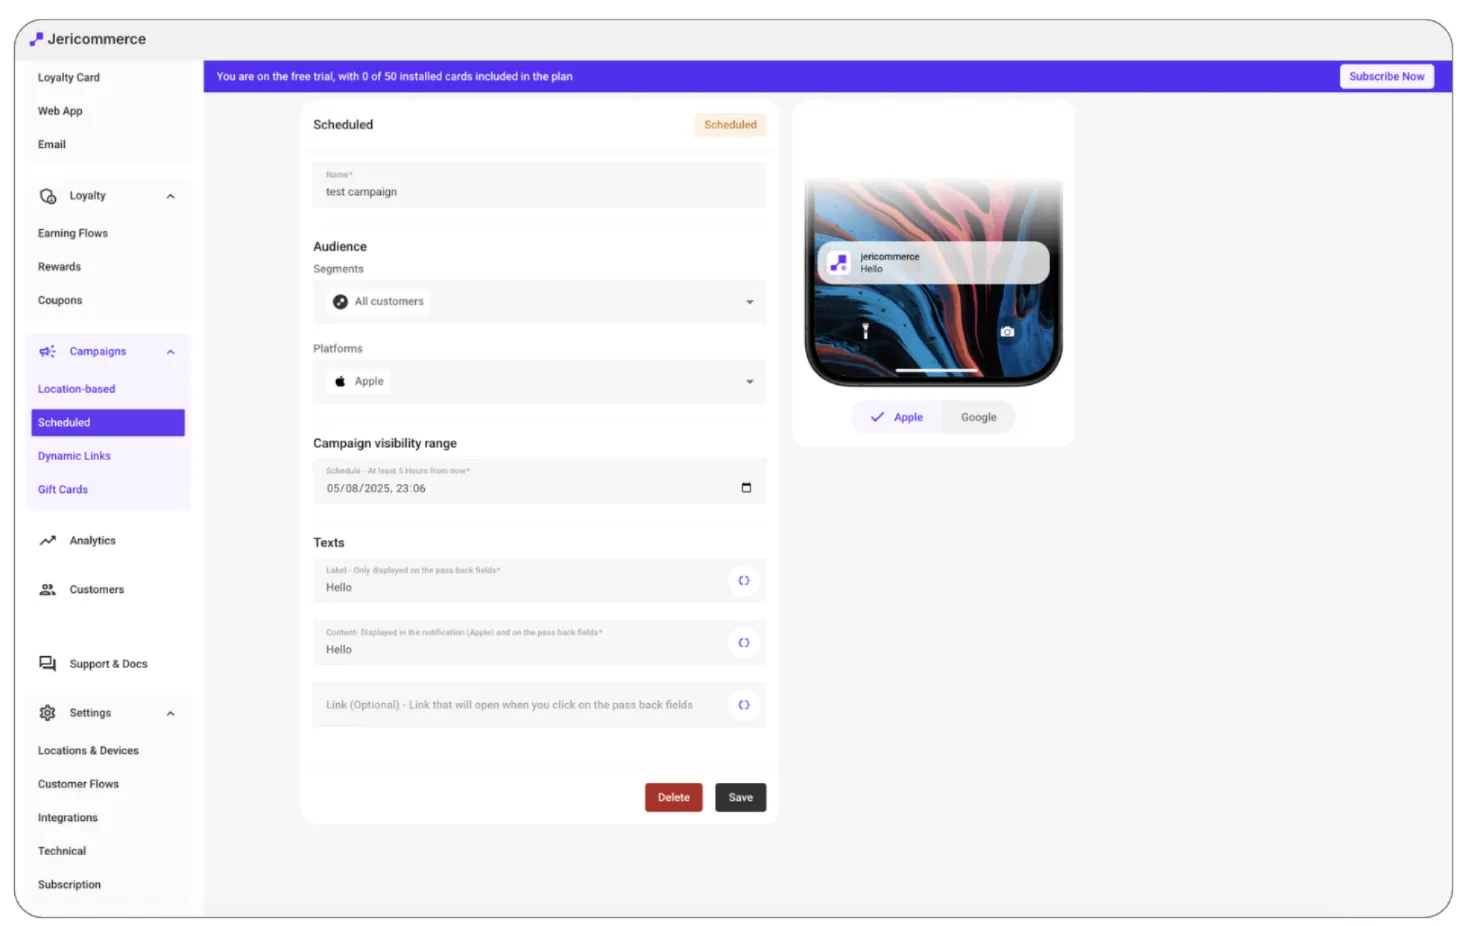
Push Notifications
- Announce sales or new arrivals.
- Send time-limited offers.
7. Promote Wallet Adoption
Increase visibility and downloads with these ideas:
- Add a Wallet button to the Loyalty Hub, account, or profile page.
- Offer bonus points for first-time downloads.
- Highlight Wallet features in onboarding content.
- Add download links to existing emails and workflow journeys.
- Include a QR code at in-store counters.
8. Customer Preferences & Compliance
- In Customer Flows, choose which fields to collect during the registration process.
- Set up policy and agreements for notification consent if needed.
9. Omnichannel — Shopify POS
If you have a retail store using Shopify POS, follow these guides to integrate JeriCommerce in your physical stores:
- How to add JeriCommerce tiles to your Shopify POS
- Scan the customer's loyalty card on Shopify POS
- Store QR Code — Download a QR code poster from JeriCommerce admin and display it at your counter or entrance so walk-in customers can join your loyalty program on the spot.
- Receipt QR Code — Print a QR code on receipts so customers can scan and add the loyalty card to their wallet after every purchase. How to add a QR code to your receipts