Push notifications let you send a wallet message to a group of customers, either right away or scheduled for a specific date and time. Use them to build anticipation and drive action around key moments.
When to Use Them
- Announce a sale or new product launch
- Send a limited-time discount or offer
- Remind customers about an upcoming event or deadline
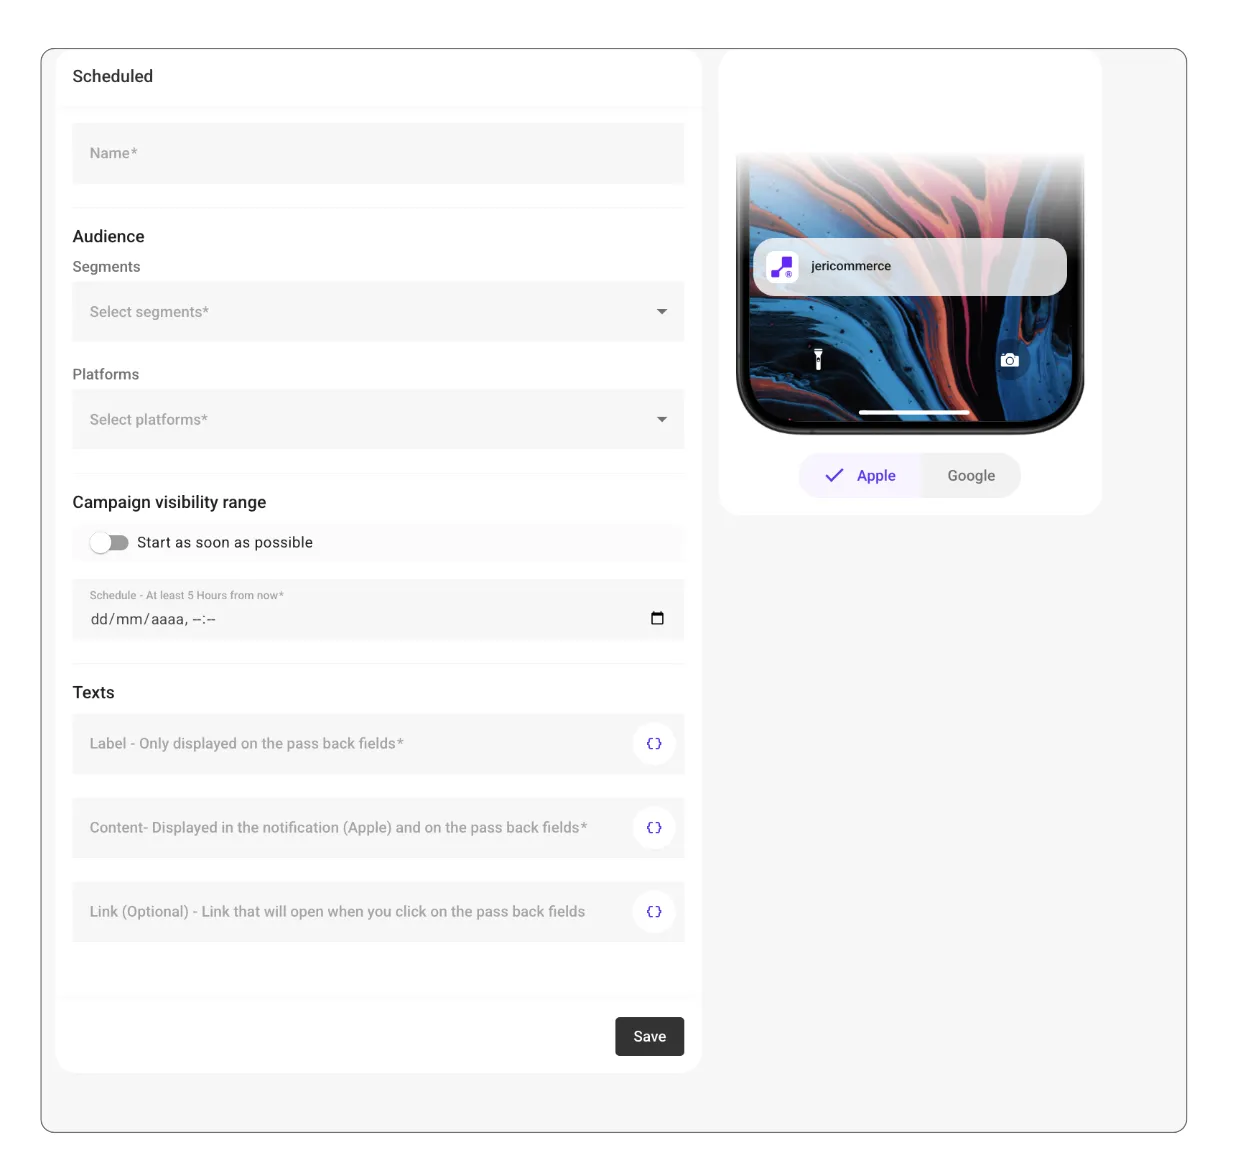
How to Send a Push Notification
Name it
Choose a clear name so you can identify the push notification later in the dashboard.
Choose your audience
Pick the customer segment you want to receive the notification.
Pick the platforms
Choose Apple Wallet, Google Wallet, or both.
Send now or schedule it
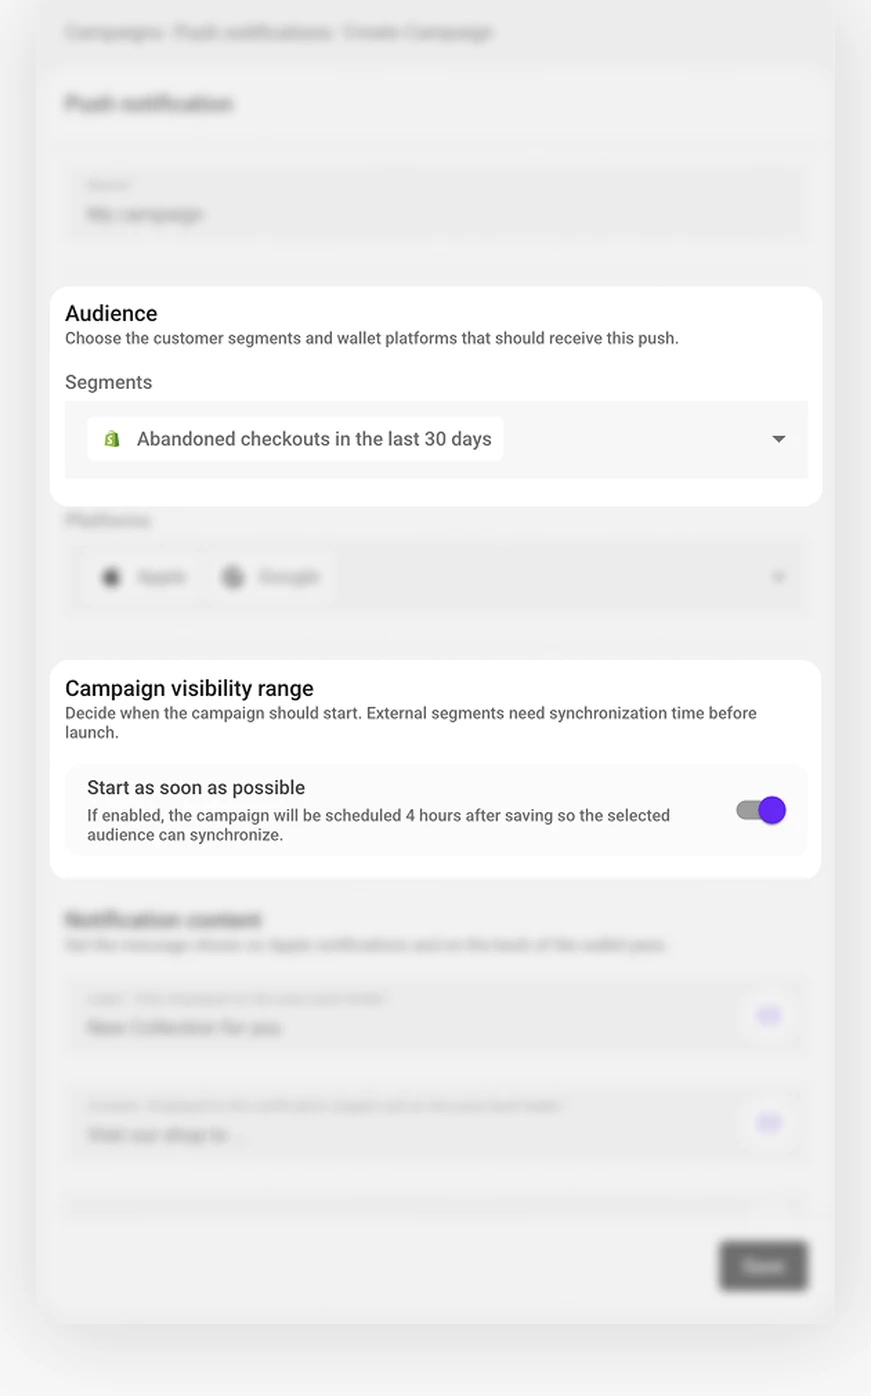
Leave Start as soon as possible on to schedule the push shortly after saving, or turn it off and pick a date and time.
When you target an external segment from Shopify or Klaviyo, the audience needs time to sync before the push sends. The admin automatically applies the required delay when Start as soon as possible is on. If you choose a manual date, set it at least 4 hours from now.
Write your notification
- Label — Shown only on the wallet pass back fields
- Content — The text that appears in the push notification (Apple) and on the pass back fields
- Link (optional) — Opens when customers tap the back field entry
Save
The notification is sent right away or at the time you scheduled.