Assign a coupon to a specific customer from JeriCommerce, or send it automatically through Shopify Flow, Klaviyo, or your own integration.
Create a Coupon 
You will find the coupons in the Loyalty section. You can create as many coupons as your paid plan allows. When a coupon is created, it is not assigned to anyone. You need to assign it to the customers you want through Shopify Flows, Klaviyo, or any third-party system you are using, let's revise first the parts of a coupon:
Name 
When you create a campaign, choose a name that clearly identifies it. A slug will be automatically generated from that name. The slug acts as the unique identifier for this campaign in your program, enabling you to execute it whenever and wherever you want. We will discuss how to trigger the campaigns based on this slug in the next steps.
Notification content 
Next, create the content of the campaign itself, including a title and the body desired. Keep in mind that the same content will be displayed in the notification and on the backside later. You can personalize the campaign using the variables, which will generate content based on the assigned customer. You can always see what will be displayed on the right side of the screen on the preview card.
Availability & limits 
This relates to how many days you want to keep the content of this campaign on the back of the Loyalty card. Sometimes, you may only want to make an impact through a notification to your customers and don’t mind if the campaign disappears. Other times, you may want to keep it on the back for a longer period so that it remains accessible to customers later.
By default, if you don't choose the number of days, the back message will be removed when the customer receives a new notification or update.
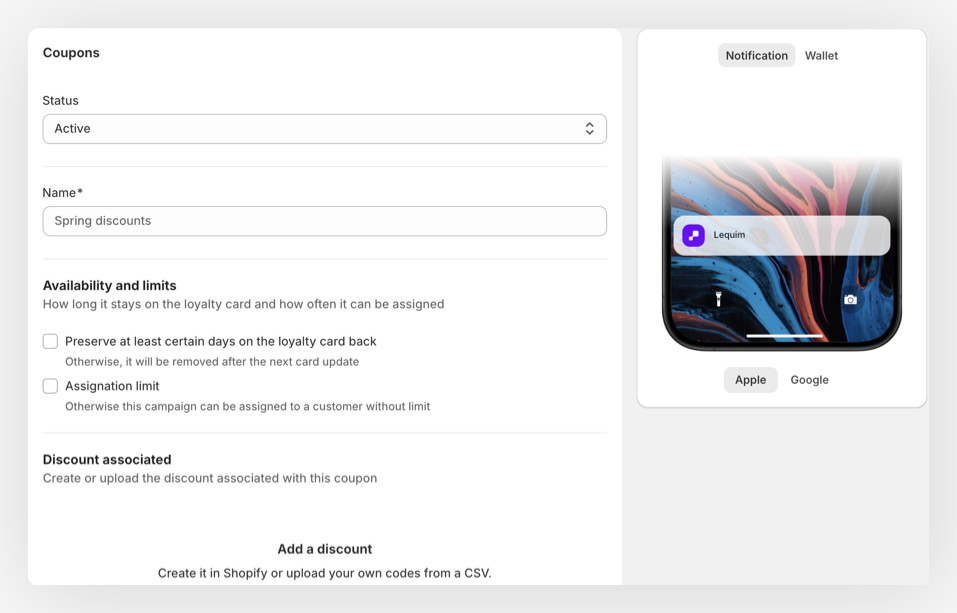
After saving, a coupon will be editable until its first assignment. Once the campaign is assigned, you can no longer edit its content.
How to assign a coupon? 
After creating the coupon, it remains invisible to customers until you assign it to a specific one. You can do this in several ways, depending on the tools you use.
Open the distribution settings 
On the coupon, click How can it be distributed? to open the distribution settings.

Copy the slug for an integration 
Integrations need the customer's email and the coupon slug. Click Copy Slug beside the identifier, then follow the Shopify Flow or Klaviyo guide to use it in an automation.

Directly from JeriCommerce Admin 
In the same dialog, enter the customer's email under Assign to a customer and press Enter. The customer must already belong to your program. With a pre-generated batch, assignment uses an available code.
The coupon appears on the back of the customer's loyalty card. Customers who can receive Wallet notifications also see a push notification.

On-demand Shopify codes 
JeriCommerce creates an on-demand code when the coupon is assigned. See on-demand Shopify codes for eligibility and expiry options.