title: Adjust Balance from Shopify description: Adjust a customer's loyalty points balance from Shopify in three ways: from the customer profile, automated through Shopify Flows, or in person at the register. sidebarTitle: Adjust Balance tags: [shopify, balance, shopify-flows, shopify-pos] lastUpdated: 2026-05-25
You can adjust a customer's loyalty balance directly from Shopify in three ways: one-off from the customer's profile in Shopify admin, automated through Shopify Flows, or in person at the register with Shopify POS.
From the Customer Profile
Open any customer in Shopify admin, click More actions in the top-right, and pick Adjust loyalty balance. A modal opens with the customer's current balance, a toggle for Increase or Decrease, an Amount of Points field, and a required Reason. The projected balance updates live as you type.
This is the fastest way to make a one-off adjustment while you are already inside a customer profile, for example after handling a support ticket or processing a return. For the full walkthrough, including the Send loyalty card action that lives in the same menu, see Loyalty Actions from the Shopify Customer Profile.
From Shopify Flows
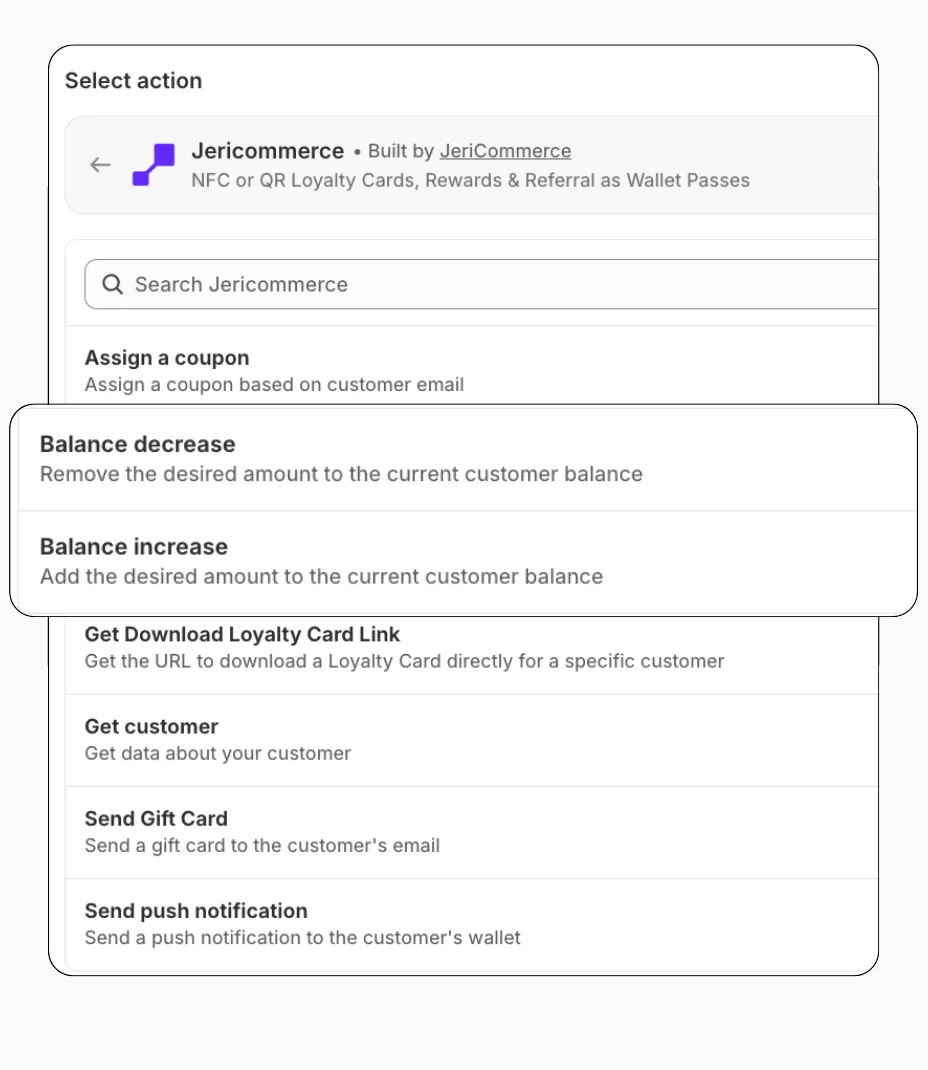
Use the Increase Balance and Decrease Balance actions from JeriCommerce in any Shopify Flow. You only need three inputs:
- Customer email — identifies the customer
- Balance amount — always a positive number (the action determines add or subtract)
- Reason — a note explaining the change
From Shopify POS
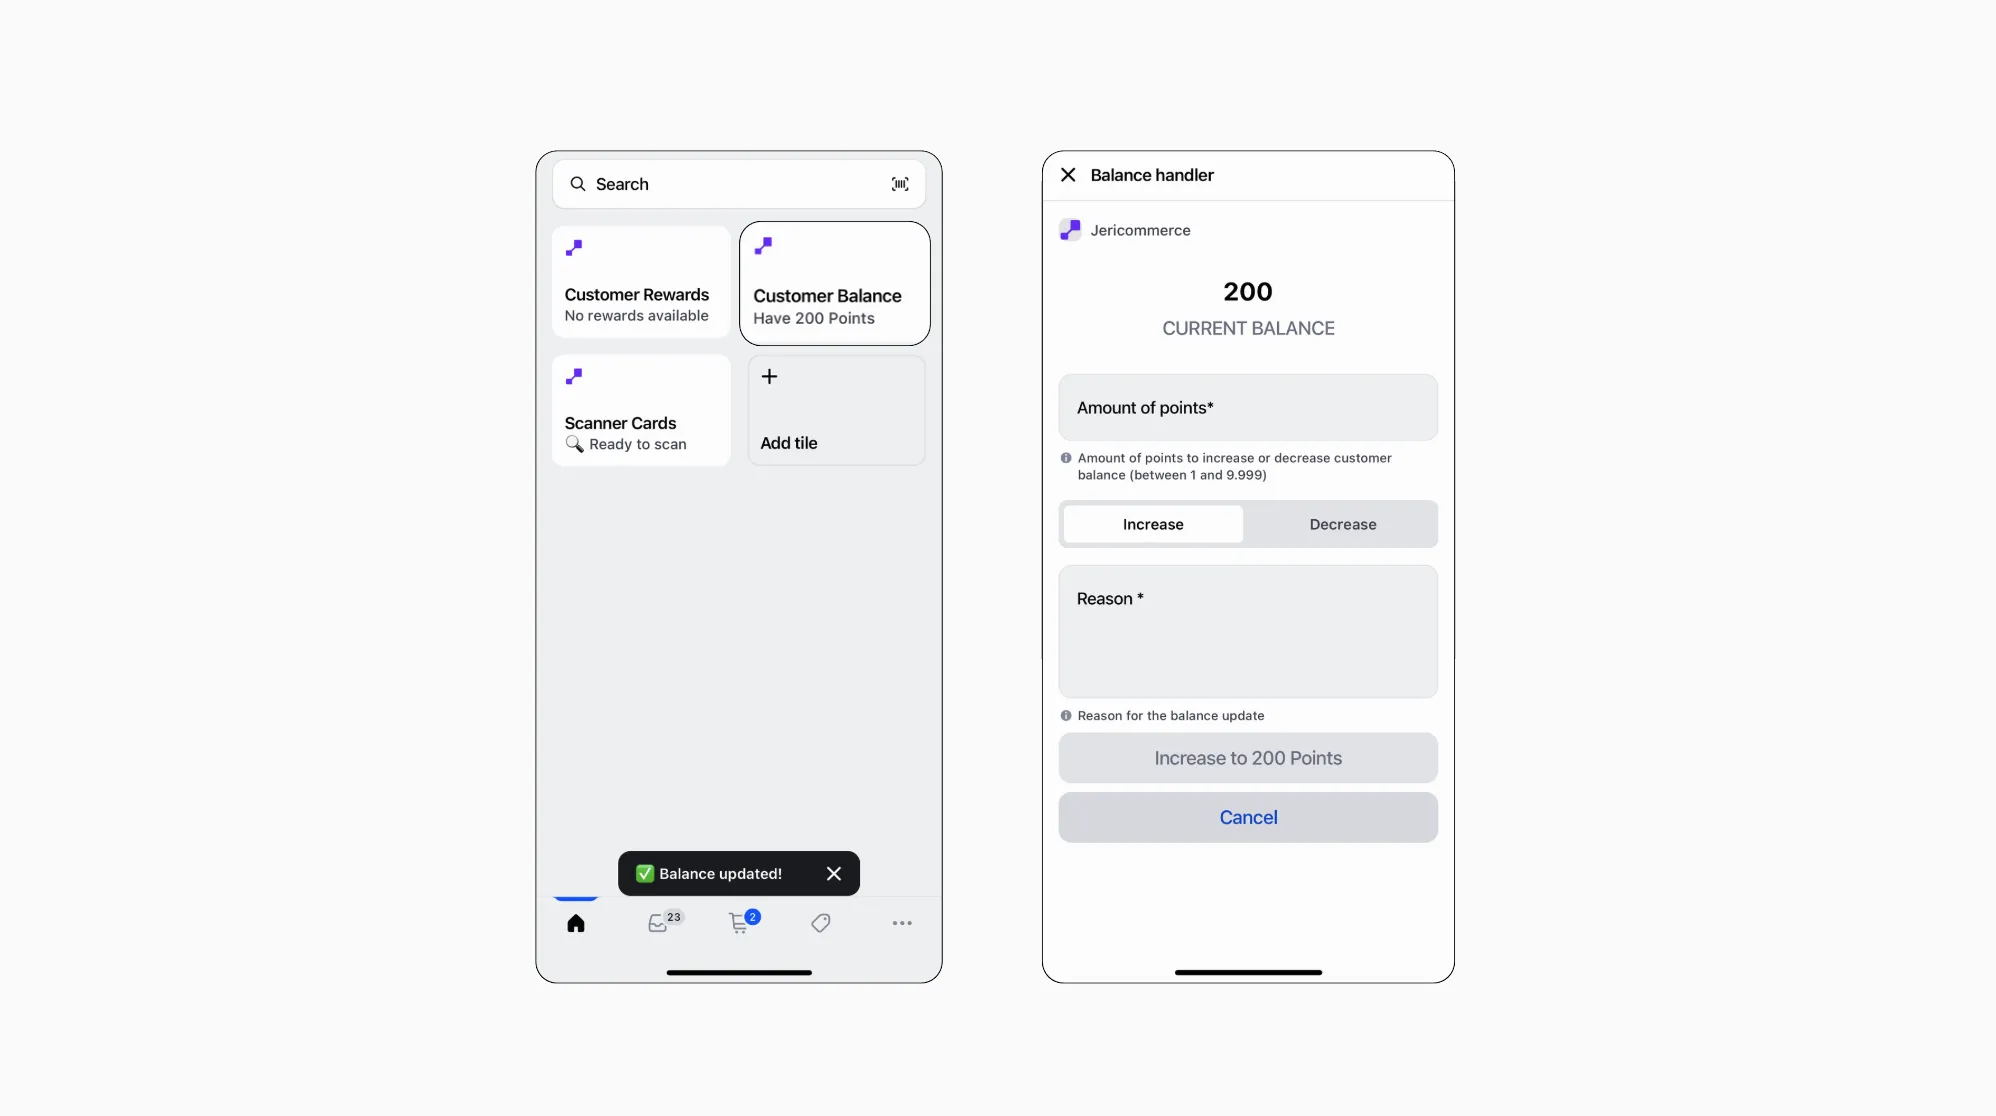
Adjust balances on the spot from the register by installing the Loyalty tile from the JeriCommerce app.
Add a customer to the cart
Scan the customer's wallet pass to associate them with the cart. See how to scan wallet passes on Shopify POS.
Open the Loyalty tile
Tap the Loyalty tile to see the customer's current balance.
Adjust the balance
Tap the balance to open the adjustment screen. Enter the amount and a reason.